The portable document format (PDF) is an open standard for capturing and transferring documents. PDF files can be viewed on almost any operating system and program, including Mac OS X and applications running on the operating system. A simple way to create a PDF on a Mac is to print the document to the Adobe virtual printer. The printer can be added by using the “Add Printer” utility in the Mac operating system. To set up the Adobe printer, the drivers must be installed.
Step 1
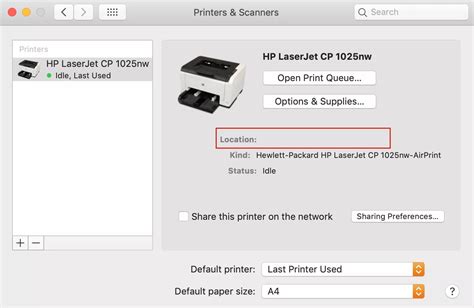
Double click on the “Mac hard drive” icon on the desktop. Choose the “Applications” folder, and then select the “Utilities” folder from the list. Select “Print & Fax” from the list of Utilities. The Print & Fax window will open.
Step 2
Click on the “+” button below the pane containing the list of printers on the left-side of the window. The “Add Printer” window will open. Type “PDF” in the search bar on the top-right corner of the window.
Step 3

Select “Adobe PDF” from the list of printers in the results list. In the “Print Using” section select “Adobe PDF” from the drop-down menu of installed drivers. If you do not see an Adobe print driver, go to the adobe.com website and navigate to the Adobe Print Driver Plug-in download for Mac. Click on the “Proceed to Download” button. The Download window will open. Select the “Printer Descriptions” folder to download the PDFPlugin file and the Acrobat Distiller file. Click on the “Browse” button and then click on “Mac hard drive,” “System” Folder,” “Extensions” and, finally, “Printer Descriptions.” The driver will now appear in the list of installed drivers.
Step 4
Click on the “Add” button in the Add Printer window. The PDF printer is now added to the list of available printers.
Daha Fazlasını Keşfedin
