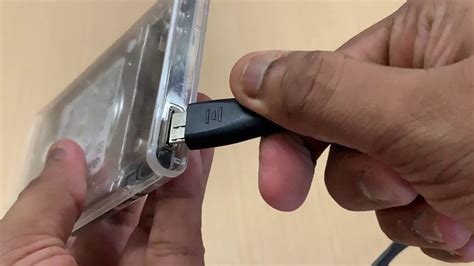
Converting an internal DVD drive to an external device is a relatively simple task for anyone who has a familiarity with basic hand tools. This project allows a user to add another drive to a small or fully optioned-out computer with no expansion bays remaining or for a desktop CPU that is located under a desk, where opening and closing the drive can be impractical. This task should take roughly 15 minutes to complete.
Converting an Internal DVD Drive to External Device
Step 1

Disassemble the external drive enclosure by removing the screws per the manufacturer’s instructions. (Please note: This step will vary by manufacturer, make and model, but usually requires the removal of four screws from the bottom of the unit.)
Step 2

Lift off the top cover.
Step 3
Attach any mounting brackets to the side of the drive using the retention screws provided. (Please note: Disregard this step if no mounting brackets are required. This is a manufacturer-dependent step and may not apply to your enclosure.)
Step 4
Lower the cable end of the DVD drive into the case close enough to connect the cables. (Typically, there will be a data cable, a power cable and an audio cable that need to be connected.)
Step 5
Fit the drive into the base of the enclosure and secure it to the base with the retention screws that were provided with the external enclosure kit.
Step 6
Place the top cover on the enclosure and secure it with the screws that were provided with the enclosure.
Step 7
Connect the drive to your system and power if required.
Step 8
Wait for a New Hardware Found dialogue box to appear. In most installations, this will require you to insert the manufacturer-supplied CD that contains the drivers for the device into your internal CD/DVD drive (as the external drive is not functioning yet) and click “OK.”
Step 9
Remove the manufacturer’s driver CD from your internal CD/DVD drive and test your external drive.
Hayal Gücünüzü Besleyin: Benzer Konulardaki Bağlantıları İnceleyin
