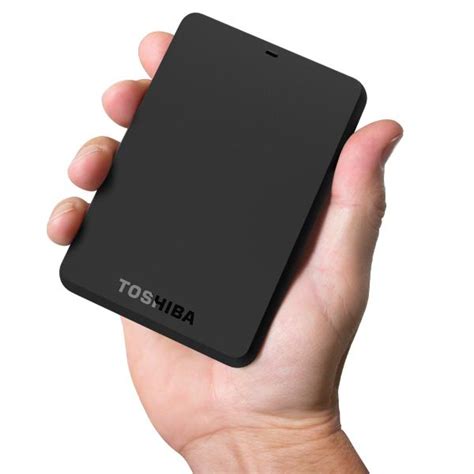
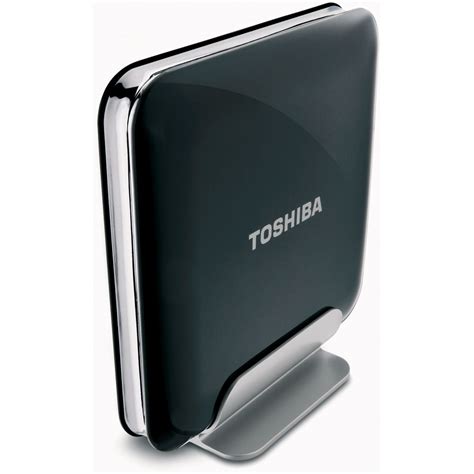
An external hard drive stores more files than will fit on a CD.
Toshiba makes several external hard drive models, most of which are compatible with any computer that has a USB port. Virtually any type of file or folder that is not an installed software program can be placed on a Toshiba external hard drive. You can use your external hard drive to back up all of your photos, documents and other files in case of computer failure, or you can store specific files on your drive, such as movie files, that are too large for your built-in storage capacity. The Toshiba external hard drive may be used with Windows XP, Vista and 7.
Setting Up the Drive
Step 1
Connect your external hard drive to your computer using a USB cable, generally provided with the hard drive.
Step 2
Insert the driver disc that came with your external hard drive into your computer’s CD drive, if it came with a disc. Some models will have the driver stored on the hard drive itself.
Step 3
Follow all on-screen prompts to install the driver for your external hard drive, whether it is internal or on a disc. Remove the disc when the installation is finished, if applicable.
Placing Individual Files on the Drive
Step 1
Click the “My Computer” icon on your desktop twice to open it. If your version of Windows does not have this icon, click “Start,” then “Computer.” Double-click on the external drive on the list to open a window for that drive.
Step 2
Click on any folder or file you want to store on the drive and drag it over to the window representing your external hard drive.
Step 3
Repeat the drag-and-drop procedure for all files you want to move, then wait for the transfer to complete. Depending on your settings, your computer may or may not automatically delete the files from their previous locations. If your files are merely copied to the external drive rather than moved, you may want to right-click on the files in their original locations and select “Delete” after the transfer is complete.
Full System Backup
Step 1
Click “Start,” then “Programs” or “All Programs,” then “Accessories” and then “System tools.” You may need to click “System and Maintenance” in Windows Vista. For Windows 7, just click “Start,” then “Control panel.”
Step 2
Select “Backup,” “Back up your computer” (which may be under “System and Security”) or “Backup and Restore,” depending on your version of Windows. Follow the on-screen prompts, clicking “Next” to move on between each dialog box, to select what you want to do–either “Backup files and settings” or “Create backup” or the similar option on your system.
Step 3

Select “All files and settings” or the similar option when asked what to back up.
Step 4

Select your external hard drive from the list of locations to back up the files.
Step 5
Type in a name for the backup file, such as “Backup” and the date, then click “Finish.”
Hayal Gücünüzü Besleyin: Benzer Konulardaki Bağlantıları İnceleyin
