How to Flash a BIOS From USB
Image Credit:
PinkBadger/iStock/Getty Images
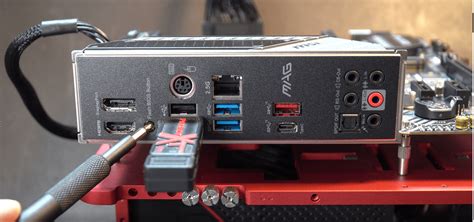
Short for “basic input and output system,” the BIOS is the main program on your computer and it needs updating now and then to ensure that your machine functions correctly. If the computer manufacturer releases an updated BIOS, you’ll need to flash the BIOS on your PC to update it. One of the most common ways to update — or “flash” — the BIOS is to use a standard USB flash drive.
Step 1

Insert a blank USB flash drive into your computer.
Step 2
Download the update for your BIOS from the manufacturer’s website.
Step 3

Copy the BIOS update file on to the USB flash drive. At the same time, make a note of the exact name and extension of the update file. Do not remove the USB flash drive from your computer.
Step 4
Restart the computer. Press the key required by your computer to enter the BIOS, usually the F2 or another function key. Press this key immediately as your computer powers on.
Step 5
Enter the boot menu. Change hardware listed under Primary Boot Device to your attached USB flash drive. Select Save Changes and Exit to restart the computer.
Step 6
Wait a few seconds for the command prompt to appear on your computer screen. Once the command prompt appears, type in the name of the BIOS update file on your USB flash drive, then press Enter.
Step 7
Press the Y key to confirm the update. Do not remove the USB flash drive from your computer during this process.
Step 8
Remove the USB flash drive from your computer after the BIOS update process is finished. The update program will indicate when the process is complete. Your computer will automatically restart itself with the new BIOS.
Özel İçerikler Burada: Diğer Yazıları Kaçırmayın
