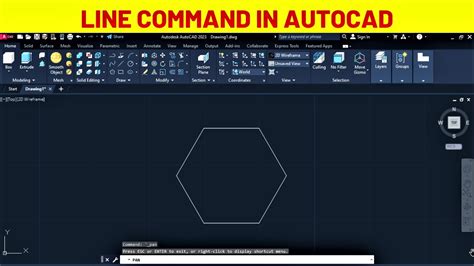
The simplest way to draw a hexagon in AutoCAD is to use the polygon tool, entering six as the number of sides. If you know the radius you’d like to use, then you can choose to size the polygon from the center. You can then choose if you want the hexagon inscribed within the radius, or circumscribed outside the radius. Alternatively, if you know the edge length you’d like to use, then you can select the Edge option, choose your base point and then enter the edge length of your choosing.
Hexagon Using Radius
Step 1
Starting the Polygon action.
Image Credit:
Tim Ashwood
Type POL or POLYGON into the command line or click the polygon icon.
Step 2
Entering the number of sides, for a hexagon, 6.
Image Credit:
Tim Ashwood
Enter 6 when prompted for the number of sides.
Step 3
Choosing how to measure the radius.
Image Credit:
Tim Ashwood
Click in the drawing area to determine your center point.
Step 4
Understanding Inscribed vs. Circumscribed.
Image Credit:
Tim Ashwood
Choose whether you’d like to use Inscribed in circle or Circumscribed about circle.
Step 5
Closing out the hexagon using the radius.
Image Credit:
Tim Ashwood
Click in the drawing area or enter a radius.
Hexagon Using Edge Length
Step 1

Type POL or POLYGON into the command line or click the polygon icon.
Step 2

Enter 6 when prompted for the number of sides.
Step 3
Choosing the edge option.
Image Credit:
Tim Ashwood
Press the down arrow on your keyboard and press Enter or type Edge.
Step 4
Selecting a base point.
Image Credit:
Tim Ashwood
Click in the drawing area to specify the base point for the edge length.
Step 5
Closing out the hexagon using the edge length.
Image Credit:
Tim Ashwood
Enter the length of your choosing or click in the drawing area again at the desired length.
Daha Fazlasını Keşfedin
