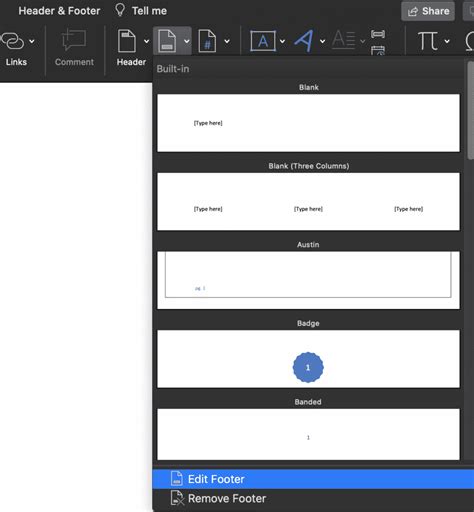
Microsoft Word helps readers stay on track and in place through the use of footers, design elements at the bottom of a page. Footers may contain page numbers, citations and footnotes. Some of Word’s default footers come with a thick or thin bar, separating the footer from the rest of the page above it. While these footers are inserted using a specific color, users may change their colors at any time with a slight workaround to the footer addition process.
Step 1

Open Word. Click the “File” tab. Click “Open.” Select the Word document you want to work with by double-clicking the name of the file. When the document opens in a new window, scroll to the bottom of a page so the footer is in view.
Step 2
Double-click the footer, which opens the green “Header and Footer Design Tools” tab at the top of the workspace.
Step 3
Click the “Footer” button on the left side of the ribbon/toolbar. Click the “Blank” footer, which is the first option in the button’s drop-down menu, and has no colored bar in it. The footer changes to text without the colored bar.
Step 4

Click the “Insert” tab. Click the “Shapes” button. Click one of the line buttons under the “Line” section. The cursor changes to a plus sign.
Step 5
Press and hold down the “Shift” key. Draw a line from the left to the right side of the footer; don’t worry about its placement just now. Release the “Shift” key, and the line appears.
Step 6
Click once on the line to open the orange “Drawing Tools” tab at the top of the workspace. Choose a color from the “Shape Styles” section of the ribbon/toolbar.
Step 7
Drag the footer bar into place above the text for the footer, remaining in the dotted-outlined area designated for the footer.
Step 8
Click the red “Close Header and Footer” button on the toolbar and return to working within the Word document itself.
Keşfetmeye Devam Edin: İlgili Bağlantıları Kullanın
