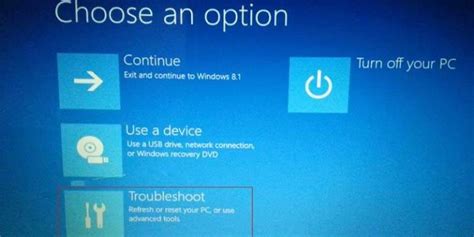
Dell laptop computers, including the Inspiron series, come loaded with a restore utility called Dell Symantec System Restore. This utility is essentially a partition on your hard drive that contains the factory settings of your computer.This utility is convenient because you’re not forced to use the Windows startup CD to restore your computer. Instead, you can take advantage of the utility and restore your Dell Inspiron by loading the utility while the computer starts up.
Step 1
Start the computer, or if it’s already on, then restart it by clicking the “Start” menu followed by “Shut Down”, and then selecting “Restart”.
Step 2
Hold down the F8 key on your Dell as the computer restarts. Be sure to hold it down before the Windows logo appears. If you are using Windows XP instead of Windows 7 or Windows Vista, hold down Ctrl and F11. The “Advanced Boot Options” menu appears.
Step 3

Select “Repair your computer” from the “Advanced Boot Options” menu by using the down arrow on your keyboard and pressing “Enter”.
Step 4
Choose the language settings when prompted and press “Enter” to continue.
Step 5
Log in as an administrator when prompted. Enter your username and password and click “Enter” to continue the factory restore process.
Step 6

Click “Dell Factory Image Restore” followed by the “Next” button.
Step 7
Select the check box labeled “Yes, reformat hard drive and restore system software to factory condition”. Once the check box is selected, click the “Next” button and your Dell Inspiron is restored to factory settings.
Step 8
Click “Finish” after your computer is restored. This restarts Windows in the exact state it was on the day you purchased the computer.
Özel İçerikler Burada: Diğer Yazıları Kaçırmayın
