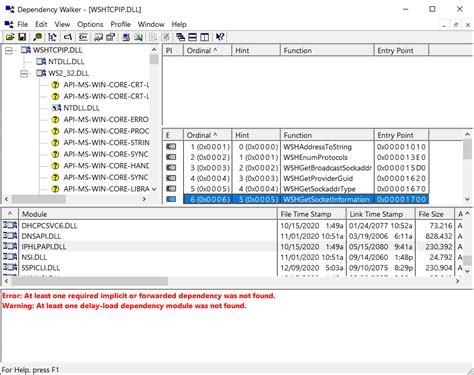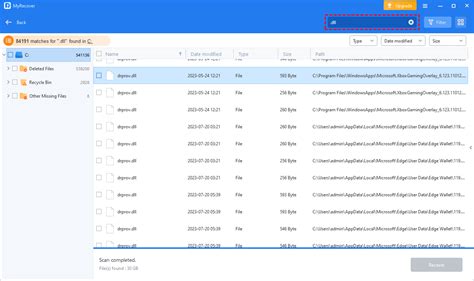
A Dynamic Link Library (DLL) file is a type of executable file that, according to Microsoft, “acts as a shared library of functions.” Most Windows users will never have to manually interact with a DLL file, but if you receive an error message related to a DLL file or one becomes corrupt, you can manually update the file via the Windows command line interface. Microsoft refers to this process as registering the DLL file.
Step 1
Unregister your currently problematic DLL file by clicking “Start” and typing “cmd” into the Search Programs and Files box if you’re running Windows 7 or Vista. Windows XP users should select “Run” and then type “cmd” into the text box. This will launch the Windows command line interface.
Step 2
Type “regsvr32 –u <filename.dll>” at the command prompt where your cursor is blinking. Replace “path” with the location file and the file name with the name of the DLL file you need to unregister, for instance, “C:Windowsproblemdllfile.dll.” Press “Enter.”
Step 3
Obtain a copy of the DLL file you wish to update, and save it to your hard drive if you need to replace the file entirely. Be sure to note where you save the file. Otherwise, try re-registering your original file to update it.
Step 4
Click “Start,” and then type “cmd” into the Search Programs and Files text box.
Step 5

Type “regsvr32 <filename.dll>” at the command prompt, followed by “Enter.” This will register your new DLL file or re-register the existing file. Note that you may need to reboot your computer for the changes to take effect.
Keşfetmeye Devam Edin: İlgili Bağlantıları Kullanın
