Using USB cable to transfer data

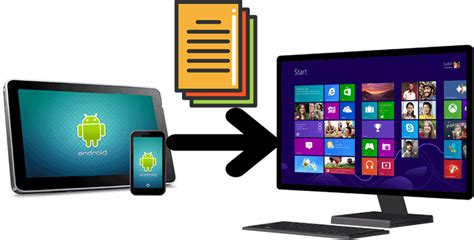
The USB cable can be used to transfer data from one computer to another using Microsoft operating system. It saves you time since you do not need an external device to first upload the data in order to transfer to a different computer. USB data transfer is also faster than data transfer via wireless network. This process will guide you through the steps required to transfer data from one PC to another using a USB cable.
Step 1
Boot both the PCs. Wait till both of them finishes the startup process and are ready to be used.
Step 2
Connect both the PCs with the USB cable. Insert one end of the cable into the USB port of your old PC and the other end into the USB port of the new PC. Wait till both PCs recognize the USB cable. This should also start an installation wizard.
Step 3
Choose the installation type by selecting “USB Super link adapter.” Hit “Next.”
Step 4
Select “High Speed Data Bridge” from the “Mode” drop-down menu.
Step 5
Click on the Start menu and select “Run…” Type “devmgmt.msc” without the quotes and hit “Enter.”
Step 6
Click on the little plus sign to expand “System Devices.” Check to make sure your USB cable is listed as “Hi-Speed USB Bridge Cable.” Your cable may use a slightly different name, depending on the manufacturer.
Step 7
Insert the installation disk that was packaged with the USB cable into your CD/DVD-ROM drive. Follow the guided prompts to install the data transfer software. Repeat this step for the other computer to install the same software.
Step 8

Launch the program in both the computers. You should see a two-sided window. On its left side it will show your computer and on its right side it will show the remote computer or the new computer where you want to transfer the data.
Step 9
Select the drive/partition as per your preference. Drag the folders and files you want to transfer and drop them to the desired location. Disconnect the cable when the transfer is done.
Gizli Hazineleri Keşfedin
